
These pizza rolls are surprisingly easy to be prepared, but you need to start about 3 hours in advance as the dough need some time for rising. If you do not have time, skip the homemade pizza dough and try with a good quality store bough pizza dough.
The proposed filling is very simple, but you any other ingredients you like on pizzas.
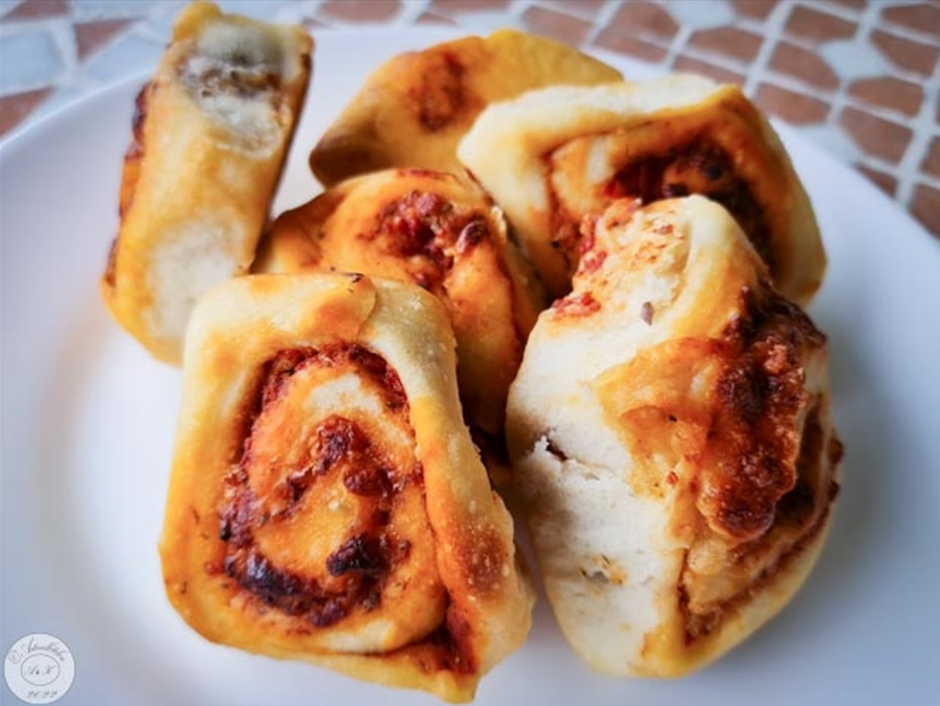
Easy Pizza Rolls from Scratch
Ingredients
Pizza Dough
- 500 g flour
- 300 ml water, lukewarm (about 30°C)
- 1 teaspoon dry active yeast
- 1 teaspoon salt
- 4-5 tablespoons olive oil (or as needed), this for the dough and for rolling
Filling
- 1 tin chopped tomatoes (pelati), drained
- 1 tablespoon tomatoes concentrate paste
- 1 tablespoon pesto
- ½ teaspoon oregano, dried (quantity to taste)
- Salt and pepper to taste
- 250 g shredded mozzarella cheese (store bought)
- 2 tablespoons grated parmesan cheese
- Additional ingredients to taste: dried onions, olives, capers….
Preparation
- Dissolve the yeast in about 100 ml water and 50 g of flour. Wait until yeast is active and foamy.
- Now all the remaining flour, water and salt. Mix well and set aside for about 20-30 minutes.
- In the meantime place drain the tomatoes over a sieve in order to eliminate excessive water.
- Stretch and fold about 5 times or until dough becomes elastic and smooth. For this step I add about 1 tablespoon of oil on the sides of the bowl. Cover and set aside until doubled.
- Roll out the dough on a well-floured surface to the size of about 40 X 60 cm.
- Combine the drained tomatoes with the tomatoes paste, the pesto, the oregano and adjust to taste with salt and pepper.
- Spread the tomatoes mixture over the dough letting about 3 cm of the long side free (you will need the border to close the roll). Sprinkle mozzarella and parmesan. Top the cheese with additional ingredients to taste.
- Start rolling the dough from the long side to a tight log. Seal the end by pinching the dough free of filling.
- Spread about 3 tablespoons of olive oil over the log and coat it well with your hands or a baker’s brush.
- Using a super sharp knife slice the pizza dough log into equal rolls, placing them onto baking tray lined with parchment paper. For this step I made 24 pieces for 4 x 6 rolls in my baking tray. We prefer to bake these on a tray quite near to each other so that while rising they will fill the tray completely; the oil will make the step of separating them super easy.
- Brush the top rolls with little olive oil.
- Let the rolls rise for about 1 hour or until you see the dough is filling the gaps of the tray between the single rolls before baking.
- Preheat the oven to 200°C.
- Important: just before baking splash about 1/2 cup of water into the oven (if not possible place a flat bowl with boiling water into the oven) in order to increase the humidity. Place immediately the tray into the oven and bake for about 25 minutes or until the dough appears golden.
- Remove from the oven and cool the rolls for 10 to 15 minutes before serving or let cool down partially, cover with parchment foil and serve when desired. We love them lukewarm.
- Store any leftovers in airtight containers in the refrigerator for up to 5 days and kept frozen for up to three months.


 This is a traditional Roman (Italian) dish which can be severved as appetizer or as a side dish.


