This is a copycat recipe of a fabulous gnocchi dish I got in a restaurant.
As I tasted this delish, I knew that in some way I would bring this to my family. Yes, the decision was right and it was a pleasure to see how much these gnocchi were appreciated.
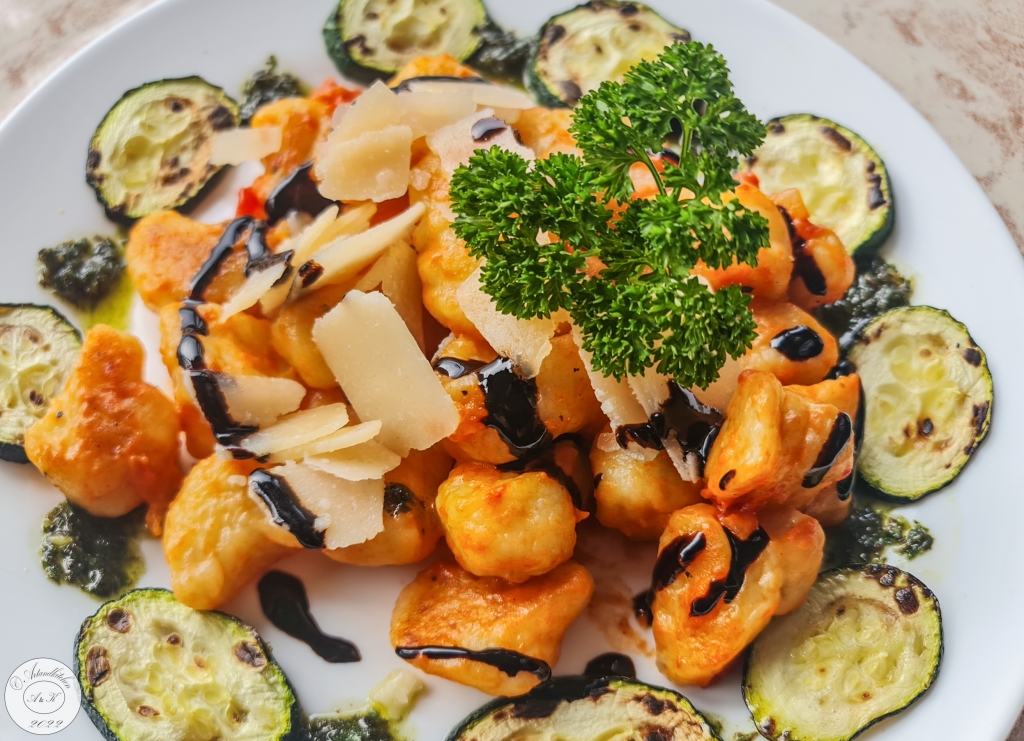
Gnocchi Pomodoro Panna Pesto
Ingredients
Gnocchi
- Gnocchi according to my recipe (https://artandkitchen.wordpress.com/2015/02/02/gnocchi-di-patate-italian-potatoes-dumplings/) or store bough. About 125-150 g per person.
Tomato and Cream Sauce
- 2 tablespoon olive oil
- 1 small onion
- 1 1/2 cups chopped tomatoes (pelati are great as well) or passata)
- 1/2 cup heavy cream
- Salt and pepper to taste
Pesto (alternative store bough), you will need only a few teaspoons of pesto
- 1 cup basil leaves
- 1/2 cup heavy cream
- 1 garlic clove chopped
- 1 teaspoon salt
Additional
- Grilled vegetables, I used zucchini (optional)
- Cream of balsamic vinegar
- Parmesan cheese, thinly sliced, quantity to taste
- Herbs for decoration (optional)
Procedure
- Prepare the gnocchi according to the recipe, but wail for cooking them
- For the sauce: fry onions in olive oil until tender, add tomatoes, cream and blend shortly. Adjust to taste with salt and pepper. Keep warm.
- For the pesto: blend together the ingredients.
- Check you have the additional ingredients ready. I grilled the zucchini and arranged them on dishes and kept warm in the oven (80°C) until the gnocchi were done.
- Boil the gnocchi, when they come to the surface they are ready.
- Drain gnocchi and place them in a bowl. Add as mucho tomatoes sauce as you like and toss well. You do not need to use all the quantity of tomatoes sauce, only to your taste.
- Arrange the gnocchi on the plates drop 2-4 teaspoon of pesto around, drizzle some cream of balsamic vinegar, add some slices of parmesan cheese and decorate with herbs
- Serve immediately still hot.

 All quantity to taste and according to your harvest J

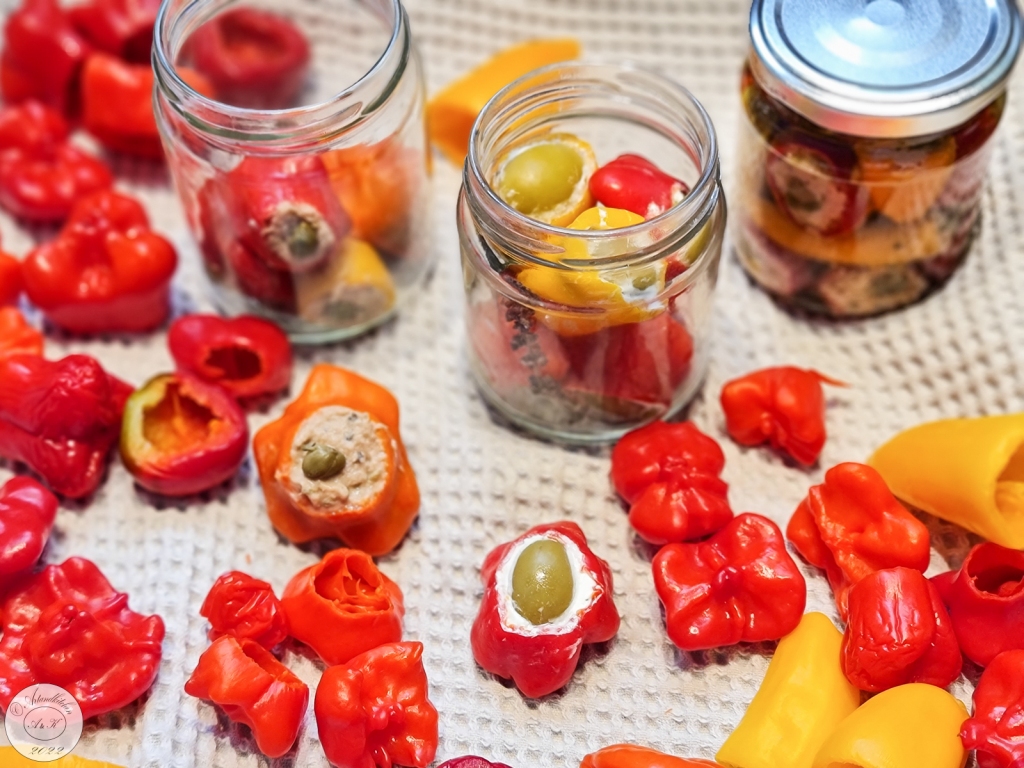


 This is a traditional Roman (Italian) dish which can be severved as appetizer or as a side dish.


